Succulent pumpkins are a unique way to not only maximize those pumpkins for a few more months, but also for creating beautiful fall decor. Making succulent Cinderella princess pumpkins is an easy DIY project to spruce up doorsteps, porches, patios, and even your fall festive tables.
The air is feeling crisper and the days are getting shorter. It’s time to cozy up and get ready for some fall family time. Although the seasons are milder here in Northern California than in my midwestern roots, the light hits at a certain angle bringing warm colors of slowly changing leaves to match the warmth I feel inside at this time of year.
Getting outside for fresh air and brisk walks can be an instant mood lifter. Maximize walks and hikes. Look for big, interesting fallen leaves, and twigs and sprigs, all of which can be spray painted gold to add shimmer indoors.
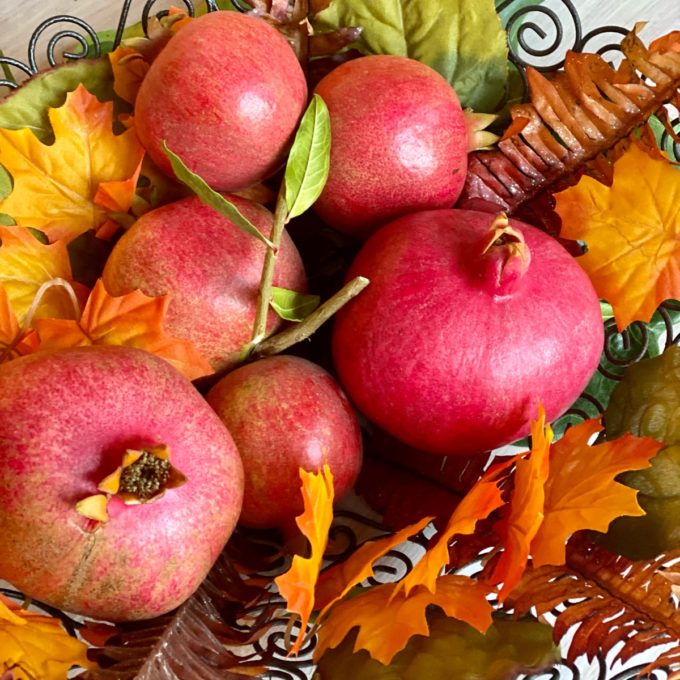
Notice the trees adorned with pomegranates and persimmons and the squirrels are busy grabbing seeds and nuts in preparation for chillier days ahead.
Like those furry rodents, I keep my eyes open and collect goodies on my autumn walks in anticipation of natural centerpieces.
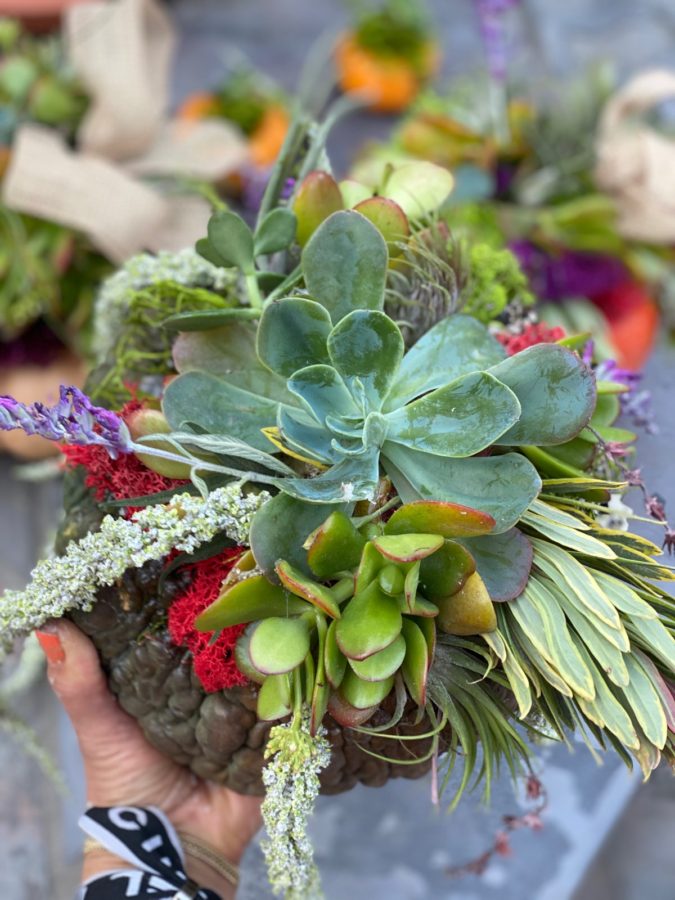
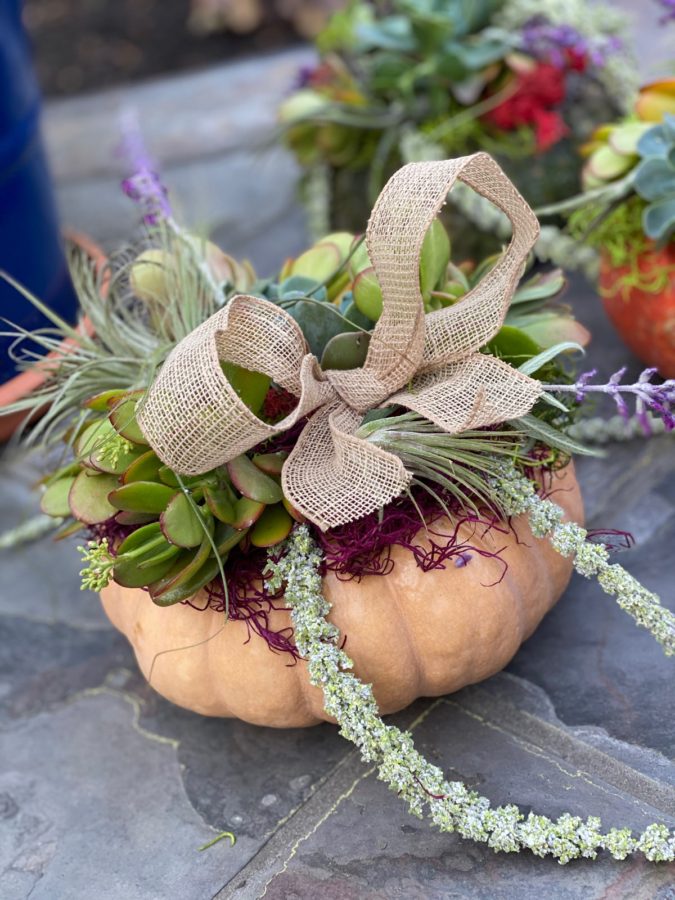
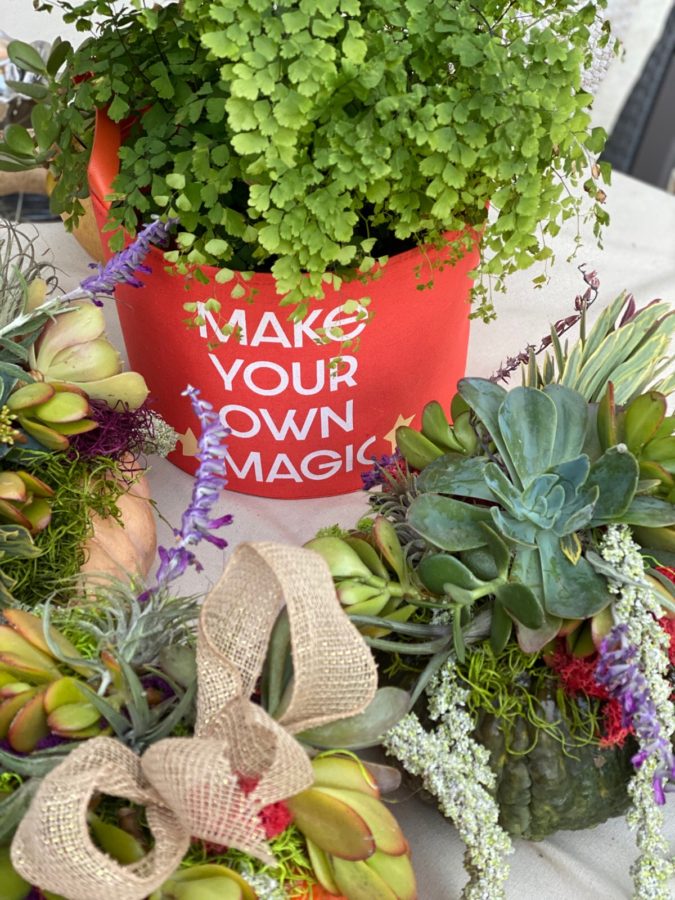
This brings us to making succulent princess pumpkins!
One very important thing to note about making a succulent topped pumpkin is that there is no carving or cutting required. This is a glue project.
Supplies needed:
- flat, interesting colored pumpkin (like a Cinderella pumpkin)
- moss – Spanish or reindeer
- succulent pieces – air succulents, round type, pointy, dangling
- spray adhesive glue
- E6000 glue
- sharp scissors or gardening shears
- floral ribbon (wire-rimmed)
Have you noticed over the last several years all of the variety of colors and shapes of pumpkins in the fall? Cinderella pumpkins originated in Europe. They tend to be medium to large in size and are flatter than the traditional, very round orange pumpkins.
Hybrid pumpkins can be similar in terms of the flatter shapes and come in so many interesting colors. Look for dusty white pumpkins, creamy and elegant gourds, grey, and even blue-ish and green-ish pumpkins.
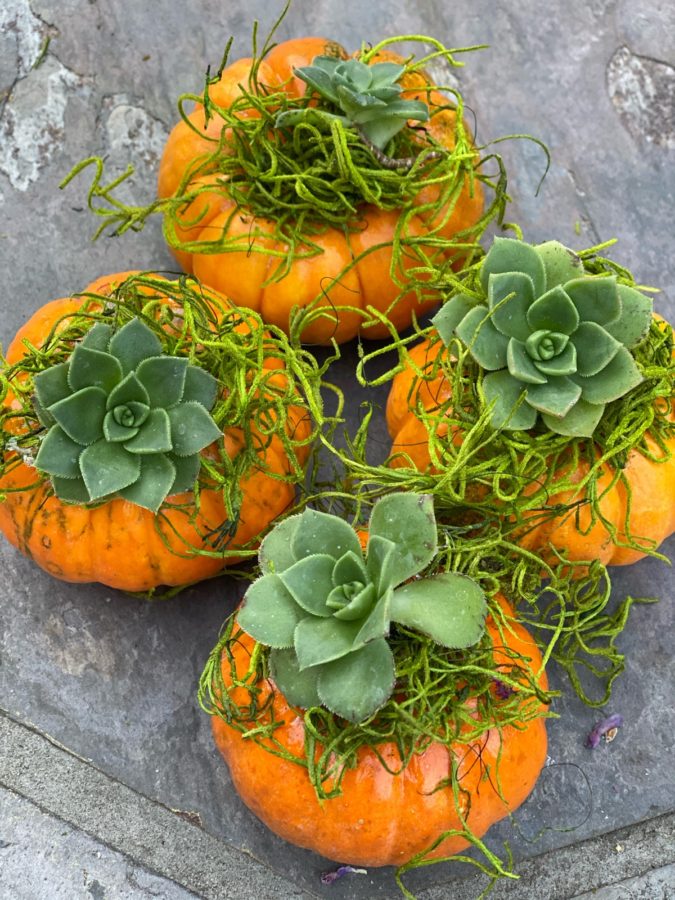
The flatter pumpkins prove to be more challenging to carve but are perfect for our succulent project. Don’t feel limited by size. I have made huge succulent pumpkins as porch and yard decor and tiny mini pumpkins for the table.
Watch this video for my step-by-step demonstration:
Steps for assembling:
- Use spray adhesive to attach moss to the tops of pumpkins
- Select and trim succulent pieces to short stem pieces
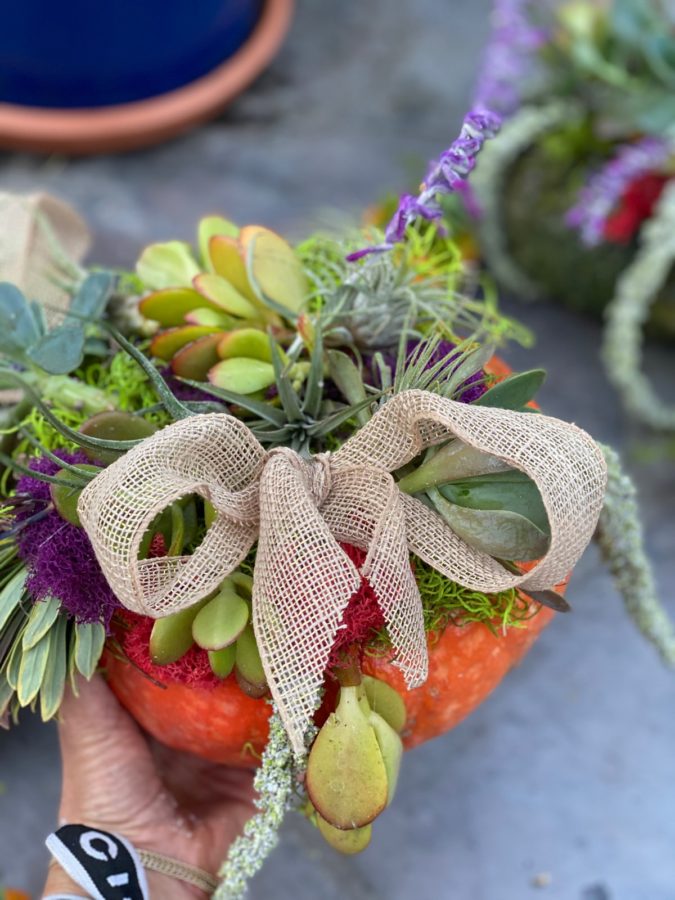
- Add E6000 glue to the side of the short succulent piece stem and stick to the moss on top filling up the top of the pumpkin
- Cut a piece of floral ribbon (wire-rimmed), tie a bow and use glue to place and attach to the top of pumpkin decor
If working with pumpkins has gotten you in the mood for sampling some edible pumpkin spice goodies, try gluten-free pumpkin bread, healthy Greek yogurt pumpkin bundt cake, pumpkin scones with maple glaze, and gluten-free pumpkin waffles!
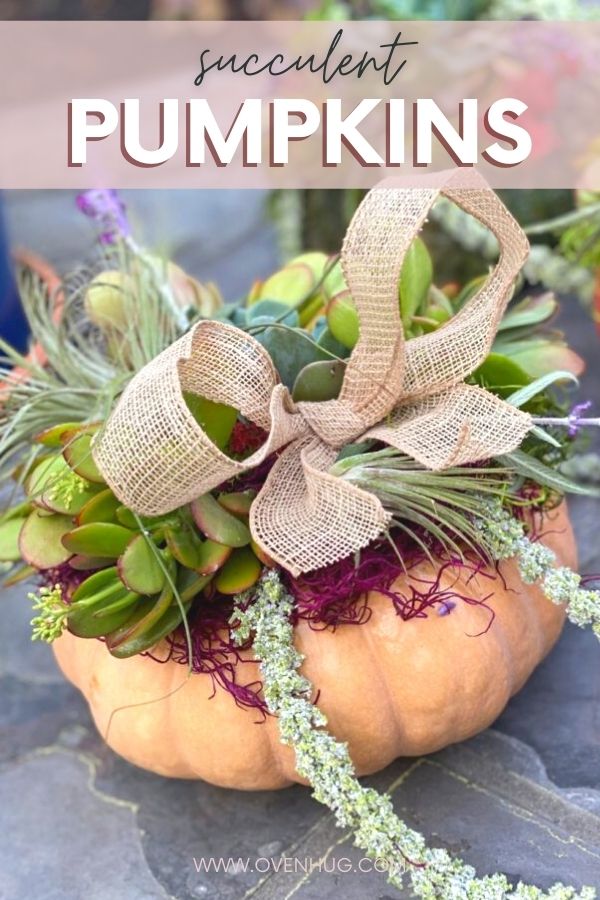
Succulent Pumpkins
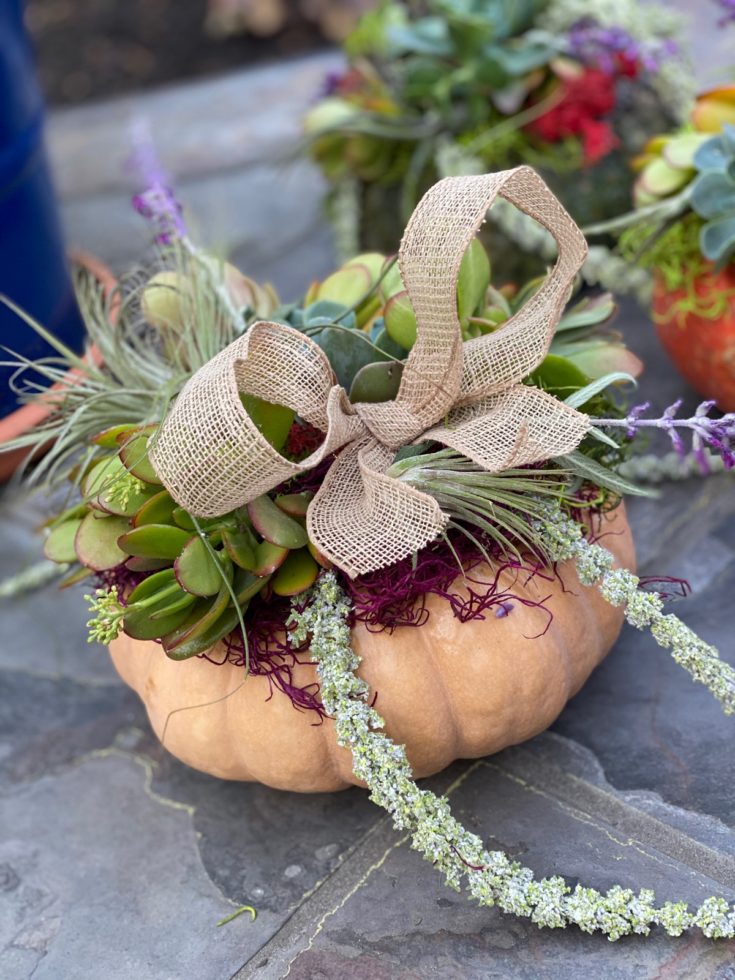
Succulent pumpkins are a unique way to not only maximize those pumpkins for a few more months, but also for creating beautiful fall decor. Making succulent Cinderella princess pumpkins is an easy DIY project to spruce up doorsteps, porches, patios, and even your fall festive tables.
Materials
- Flat pumpkins - Cinderella princess variety
- Moss - Spanish or reindeer moss
- Succulent pieces in a variety of shapes and sizes
- Spray adhesive
- E6000 glue
- decorative floral ribbon (wire-rimmed)
Tools
- sharp scissors or gardening shears
Instructions
- Use spray adhesive to attach moss to the tops of pumpkins
- Select and trim succulent pieces to short stem pieces
- Add E6000 glue to the side of the short succulent piece stem and stick to the moss on top filling up the top of the pumpkin
- Cut a piece of floral ribbon (wire-rimmed), tie a bow and use glue to place and attach to the top of pumpkin decor
Leave a Reply